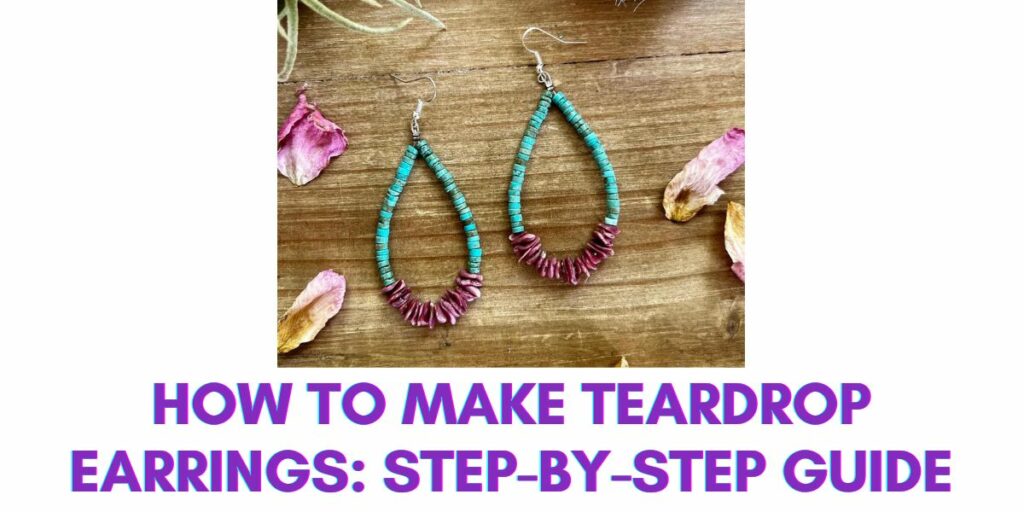
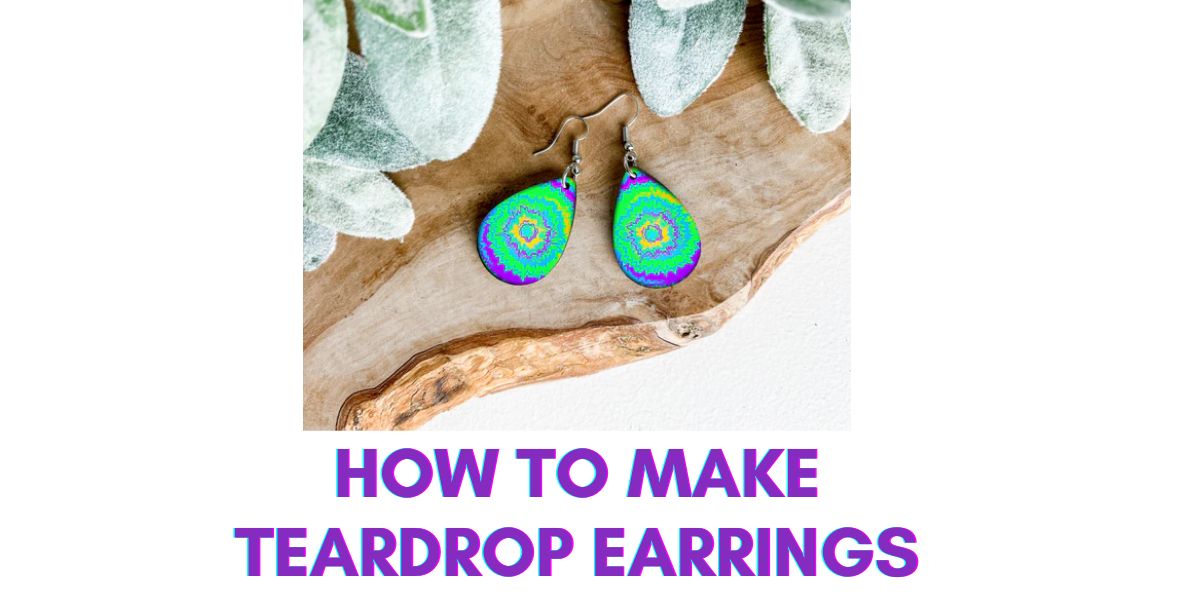
Recently, I stumbled upon the most stunning teardrop earrings at a local boutique and thought, Why not make these myself?
And guess what? I did, and they turned out fabulous!
If you’re anything like me, adding a personal touch to your jewelry collection sounds exciting.
Join me as I provide a step-by-step DIY guide on How to Make Teardrop Earrings.
How to Make Teardrop Earrings: Step-by-Step Guide

Follow these steps to make teardrop earrings:
- Prepare the Wire: Begin by cutting a piece of wire approximately 3 inches long. This wire will be used to create the structure for your teardrop earrings.
- Add the First Bead: Carefully slide one teardrop bead onto the wire. This bead will be the main centerpiece of your earring, so choose one that fits your desired design.
- Form a Loop: To secure the bead in place, gently bend the wire back on itself to form a small loop at the top of the bead. This loop will be where you attach the earring hook.
- Trim Excess Wire: Use wire cutters to snip off any extra wire extending from the loop. This step ensures a neat and well-proportioned finish.
- Connect the First Bead: Now, you’ll need a jump ring, which acts as a connector. Open the jump ring slightly using needle-nose pliers.
- Attach the First Bead: Thread the loop of the first bead onto the open jump ring. Ensure that the loop is securely attached to the jump ring.
- Close the Jump Ring: Use the needle-nose pliers to close the jump ring tightly. This step is crucial to prevent the bead from falling off.
- Attach the Earring Hook: Open another jump ring using needle-nose pliers. This jump ring will serve as a link between the bead and the earring hook.
- Secure the Earring Hook: Thread the open jump ring through the loop at the top of the earring hook. Ensure it is securely fastened.
- Repeat for the Second Bead: Repeat the same steps with the second teardrop bead. Ensure that both earrings are symmetrical and uniform in design.
If you are interested in similar drops like these, check out our Triple Heart Drop Earrings collection.
Materials Needed to Make Teardrop Earrings
These are the materials needed to make teardrop earrings:
- Teardrop-shaped beads: Teardrop-shaped beads come in various materials and styles. You can choose from glass, crystal, gemstone, or acrylic teardrop beads. Consider their color, size, and finish to match your earring design.
- Earring hooks: Earring hooks, also known as ear wires, are the part that goes through your earlobe. They are made of metal, such as silver, gold, or stainless steel, and come in various shapes and styles to suit your preferences.
- Jump rings: Jump rings are small, circular metal connectors that join different parts of your earrings.
- Headpins: Headpins are thin, straight pieces of wire with a flat or decorative end. They are used to create bead dangles. You’ll thread a bead onto the headpin and then create a loop at the other end to connect it to other earring components.
- Pliers (round-nose and flat-nose): Round-nose pliers are used to create loops in wire, while flat-nose pliers are handy for bending and holding the wire in place. They provide the precision needed for jewelry-making.
- Wire cutters: Wire cutters are used to trim excess wire. They allow you to cut headpins and jump rings to the desired length, ensuring your earrings are well-proportioned and free from sharp edges.
One other similar design that you might like is the Tortoise Shell Drop Earrings.
Top 2 Ways on How to Make Teardrop Earrings
These are the top 2 ways to make teardrop earrings:
1. Wire-wrapping Technique
These are the steps on how to wire-wrap a bead and connect it to an earring hook:
- Begin by measuring the desired length of wire for your earring. A 6-8 inches length is typically suitable, but you can adjust it based on your design.
- Use your wire cutters to carefully snip the wire to the desired length.
- Take one end of the cut wire and use your round-nose pliers to create a small loop (about 1/4 inch from the end of the wire). This loop will prevent the bead from sliding off.
- Slide your chosen bead onto the wire. Ensure it sits snugly against the loop you created in the previous step.
- Create a bend in the wire just above the bead, ensuring enough wire is left to wrap around the bead securely.
- Use your chain-nose pliers to grip the bend you created and wrap the wire tightly around the bead, making neat and even coils. The number of wraps depends on your design, but typically 2-4 wraps work well.
- Once you’ve wrapped the wire around the bead, use your wire cutters to snip off any excess wire, leaving about 1/4 inch.
- Use your chain-nose pliers to gently tuck in the wire’s loose end, ensuring no sharp edges.
- To connect the earring hook, open the loop at the base using your round-nose pliers. Be gentle to avoid distorting the shape of the hook.
- Slide the loop at the end of your wire-wrapped bead onto the open loop of the earring hook.
- Use your round-nose pliers to close the loop of the earring hook carefully, ensuring a secure connection.
- Give your earring a final check to ensure the bead is securely attached to the hook and all loops are closed properly.
2. Stringing Technique
These steps ensure a perfect stringing technique:
- Choose a suitable beading wire or cord. Beading wire is a good choice for heavier beads, while a fine cord like nylon or silk works well for lighter beads.
- Cut the beading wire or cord to your desired length. This length will depend on your earring design, but 6-8 inches is typically adequate.
- Thread one end of the wire or cord through the hole of your chosen bead. Pull it through, leaving a small tail (about 1-2 inches) to work with.
- Using crimping pliers, gently squeeze a crimp bead to secure the wire, ensuring it holds the bead firmly. Trim any excess wire or cord, leaving about 1/4 inch.
- To attach the bead to the earring hook, open the loop at the base using round-nose pliers. Be careful not to distort the shape of the hook.
- Slide the loop at the end of the beading wire or cord onto the open loop of the earring hook.
- Use your round-nose pliers to carefully close the loop of the earring hook to ensure a secure connection.
- Inspect your earring to ensure the bead is securely attached to the hook and all loops are properly closed.
If you’re struggling to style your 3 ear piercings, check out our blog for fantastic earring ideas for three holes.
Top 4 Teardrop Earring Ideas

These are the top 4 teardrop earring ideas:
1. Tribal Tortoise Shell Drop Earrings
Experience Island Chic by adorning these fashionable earrings inspired by the enchanting style of the Pacific islands. These quality acrylic teardrop earrings feature a delicate floral design, offering comfort and feminine charm.
2. Hawaii Tortoise Shell Drop Earrings
This island-inspired earring features intricate round, leaf, and flower shapes for added charm. Crafted from high-quality acrylic, they provide both durability and comfort. These earrings also boast a teardrop design and secure hook closure for a snug fit.
3. Pearl Teardrop Earrings
Pearl teardrop earrings are a classy and fancy option that goes well with any outfit, making them perfect for any occasion.
4. Teardrop Statement Earrings
Teardrop statement earrings are attention-grabbing and bold in design. They often come in larger, oversized styles and can be created using various materials like metal, gemstones, and beads.
How to Choose Your Teardrop Earring Design
Consider these things when choosing your teardrop earring design:
- Consider Your Style: Think about your style. Are you into classic, modern, or bohemian designs? Your style will guide your choice.
- Consider Your Face Shape: Different teardrop designs can complement your face shape. For instance, longer teardrops can elongate a round face.
- Earring Size: Teardrop earrings come in various sizes. Smaller teardrops are subtle, while larger ones make a statement. Choose the size that fits your look.
- Comfort: Check for comfort, as you’ll wear them for extended periods. Lightweight materials are ideal for comfort.
- Occasion Matters: Think about where you’ll wear them. For special occasions, go for precious metals with gemstones. For everyday wear, choose durable materials with a simpler design.
- Color and Material: Consider your wardrobe. Choose colors and materials that match your outfits and skin tone.
FAQs on How To Make Teardrop Earrings
These are the most frequently asked questions on how to make teardrop earrings:
What’s the Best Way to Create a Secure Loop at the Top of the Teardrop Bead?
You can achieve this by using round-nose pliers to bend the wire back on itself to form a loop, ensuring it’s tightly closed for a secure connection.
Can I Customize My Teardrop Earrings With Additional Elements?
You can add extra beads, charms, or spacer beads to make your earrings unique and reflect your style.
How Can I Ensure That My Teardrop Earrings Are Symmetrical?
Carefully inspect both earrings throughout the assembly to check for symmetry and adjust as needed.
What’s the Best Way to Care for and Clean Teardrop Earrings?
Store them in a jewelry box or pouch when not in use to prevent dust and scratches. Periodically clean them with a soft cloth or a jewelry cleaner designed for their materials.
Are Teardrop Earrings Suitable for All Occasions?
Yes, teardrop earrings come in various styles, making them versatile for casual and formal occasions. The choice of beads and design can determine their suitability.
Conclusion
Now you know how to make teardrop earrings. With a dash of creativity and a pinch of patience, you can craft stunning earrings that match your style. Get ready to shine with your unique, handmade accessories. Happy crafting!

